Hello everyone,
Here is what I did the past week. Things I worked on as practice, to study and improve on:
My current goal is to make a finished concept piece where I integrated Blender 2.8 to my workflow. To reach that goal, I decided to practice the different steps of the process
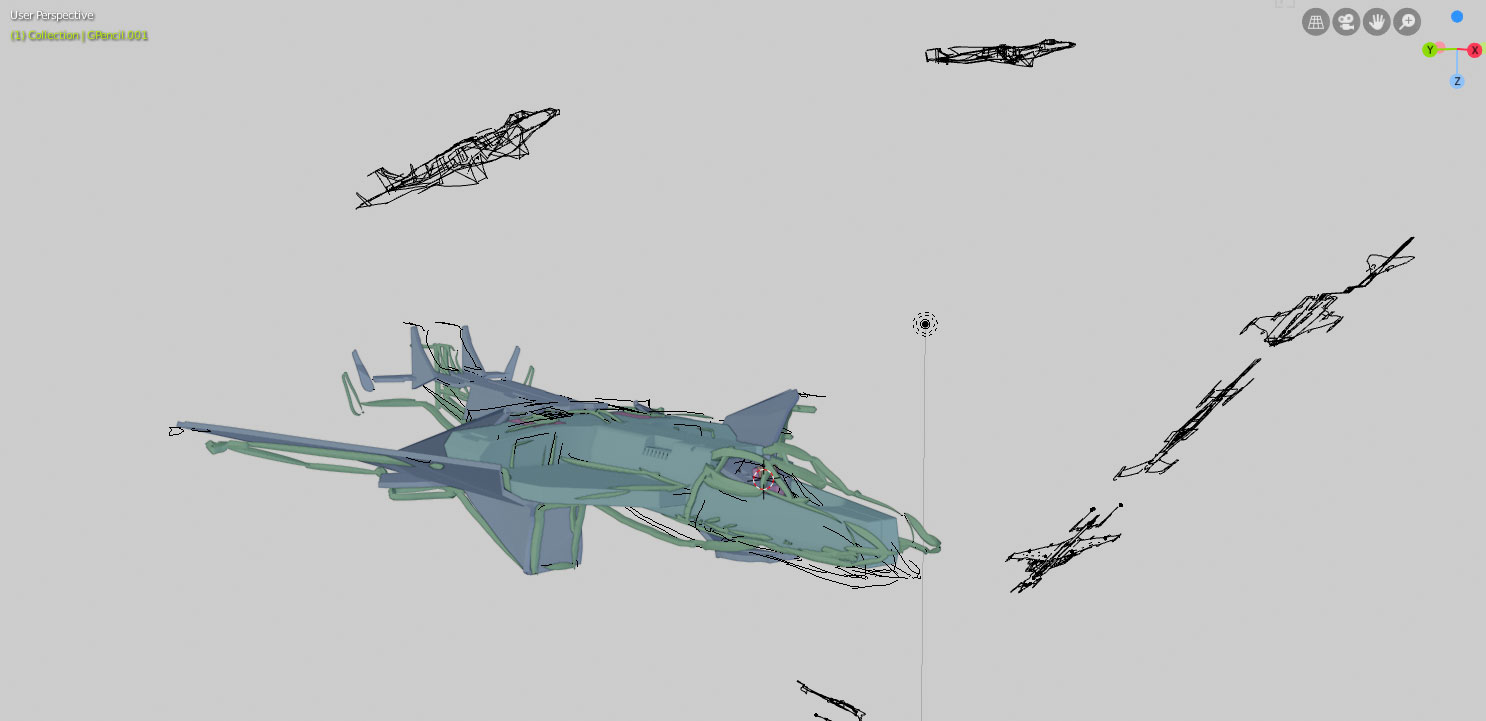
Grease Pencil Sketches
I ‘m using a workflow where I can use the Grease Pencil mode in Blender to quickly draw my vehicle designs in 3D. That way I can easily rotate them around and duplicate them to make interesting compositions. I used the final design on the left and duplicated it twice in the background to make a somewhat composition. Some (flat) sketches I did before that, can be found in the lower right:
Star Wars inspired vehicle
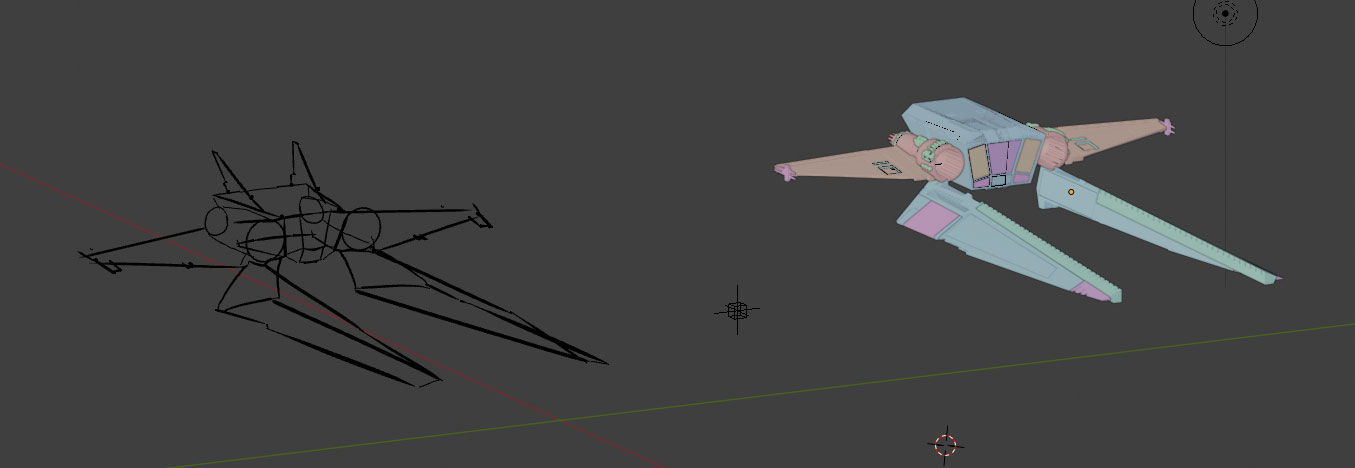
For this practice, I wanted to learn the basics of the Material Node Editor and Rendering Engine in Blender 2.8. As I learned before, I started with a 3d sketch and used that sketch as a base to block out a workable 3d model:
I used a online tutorial on Youtube on Shading and Lighting a Vehicle in Blender . Quite easily I was able to come up with the following renders.
I used:
- HDRI map for the world
- The materials on the vehicle are PBR materials (from Google: Physically Based Rendering (PBR) is a method of shading and rendering that provides a more accurate representation of how light interacts with surfaces. It can be referred to as Physically Based Rendering (PBR) or Physically Based Shading (PBS).
By using PBR materials, I also saved time by not having to unwrap the vehicle - The ground is a plane with a sand/rock texture
- The figures are downloaded and imported from Mixamo. I wrote about integrating figures into my workflow here in this post before.
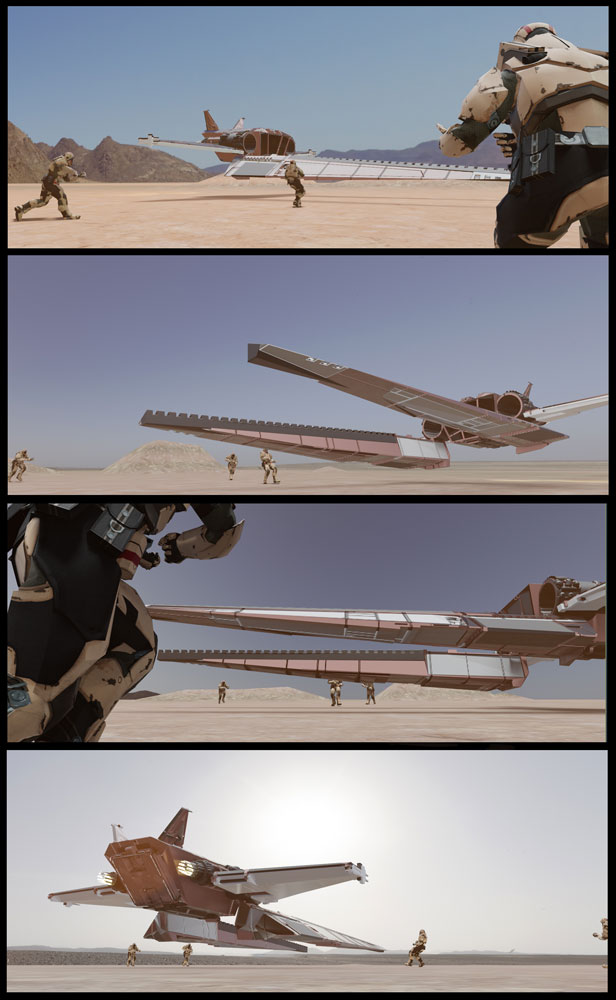
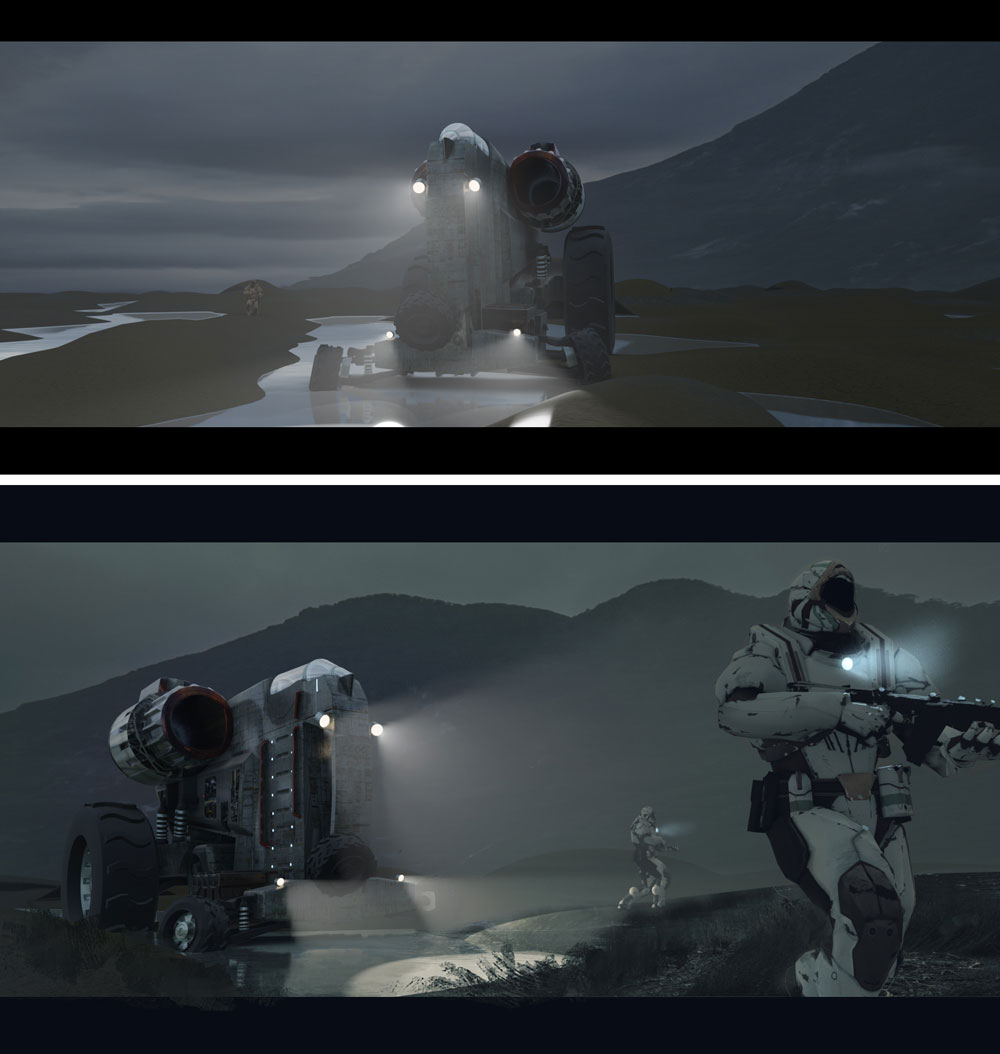
On another render I did a quick paint-over in Photoshop to add a bit more story: 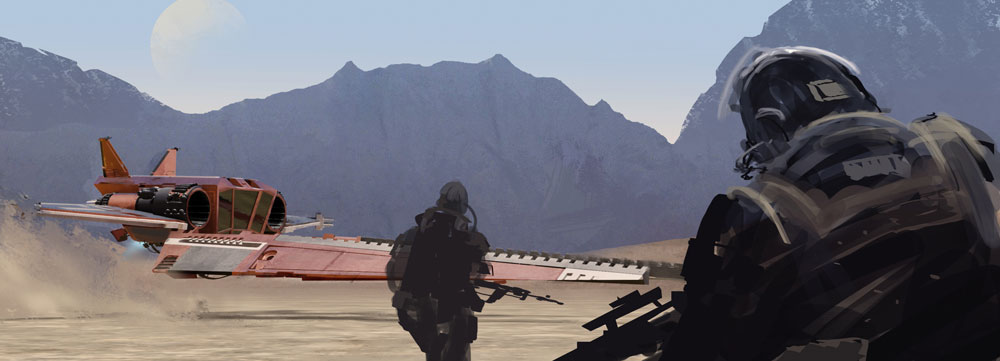
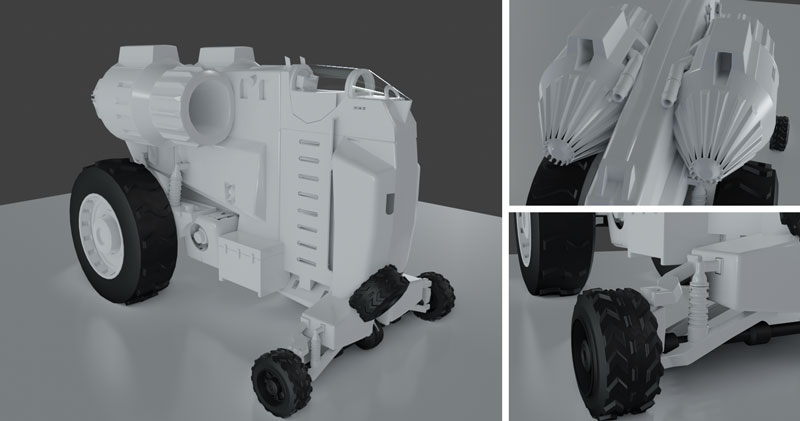
Sci-fi Vehicle
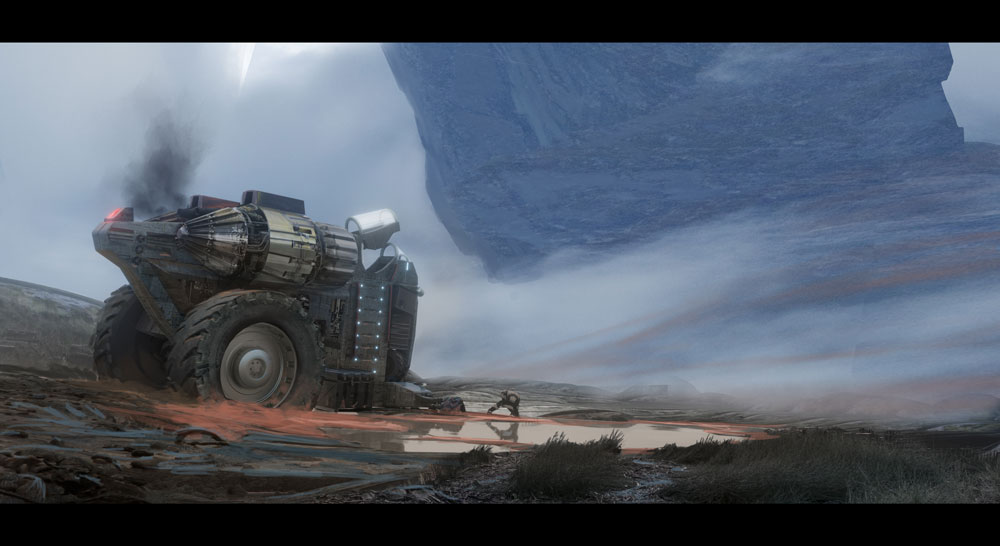
Remember my post form last week? I used the sketch I did earlier as a practice and decided to model it in Blender, again, as a practice. The more you do it, the better you get at it…
Probably not everything on the model is according to the ‘modelling standards’, but as a base for the overpaint I planned on doing, it works perfectly.
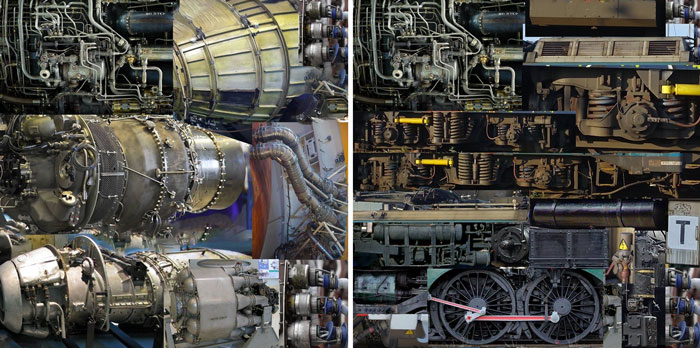
After the modelling, I decided to unwrap the vehicle and add rough textures on it. That way, it would give me a head-start on the photo bashing because it adds this extra layer of detail. As you notice, the textures are a collection of different photos I’ve put together in Photoshop. In the UV-Map Editor, I overlay the mesh with the desired portion of the texture.
 I’m especially fond of how the box turned out!
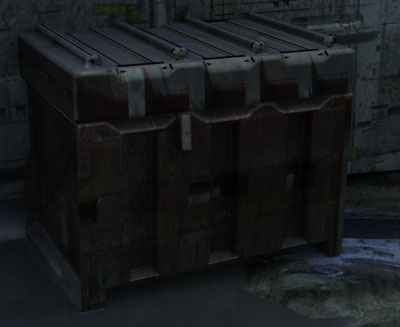
After the texturing, I added a rougher terrain with the Sculpt mode in Blender and integrated a plane with a water shader on it. The HDRI map in the world node provides for the right color information on the model:
Conclusion
Personally I think the previous and the renders below show of the strength of using this kind of workflow. I can easily change the composition to a desired other one. Or adjust the lighting or change it completely. With a few clicks, I changed the mood of the renders above to the following below: 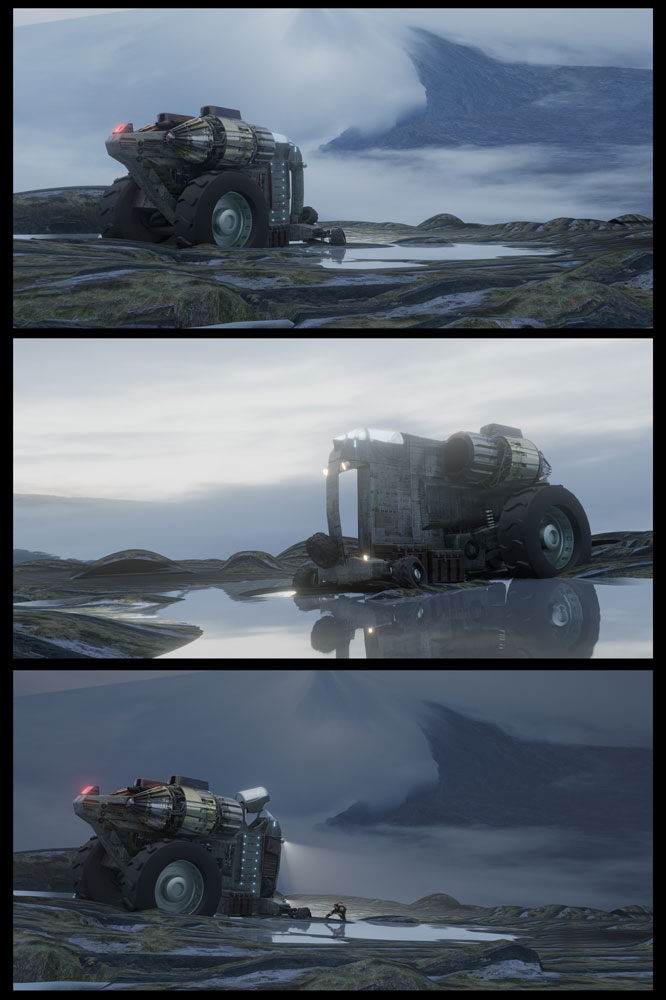
The coming week I will work further on completing this render to a more finished concept. At the same time, I’m still trying to draw and study on a daily basis and I’m quite happy to announce it’s quite manageable to do so. Finding time to scan those drawings in is something else though!
Let me know what you think!