Using custom shapes with the Custom Shapes Tool in Photoshop is often overlooked by digital artists, but it can be an huge time saver if used correctly while making concept art.
The tool will allow you to create quick detailed compositions in a more graphical way and add details to your environments and design elements. Because it’s a great time saver, it will speed up your workflow and therefore is often used when speed-painting.
Painting with the Custom Shape tool in Photoshop
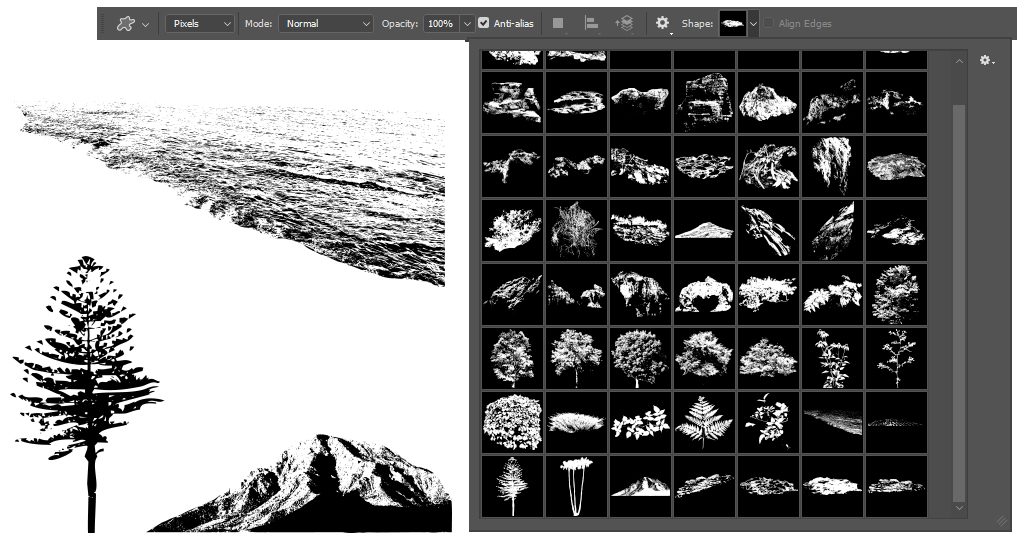
The tool behaves quite similar like the brush tool, having some of the same options available. Instead of selecting the right brush for the right shape, you’ll be selecting one shape from a list though.
The tool can be used as a vector-based tool (when selecting Shape or Path) or pixel-based (when selecting Pixels).
By using the Shape or Path option, there’s the big advantage of using vectors over pixels. Using vectors means the shapes can be transformed without having to worry about blurring out the pixels. In most cases the custom shape tool will be used with Pixels, much like the brush tool. That saves you the time of transforming the vectors to pixels (note: one can not paint on vector based layers!)

Step by Step
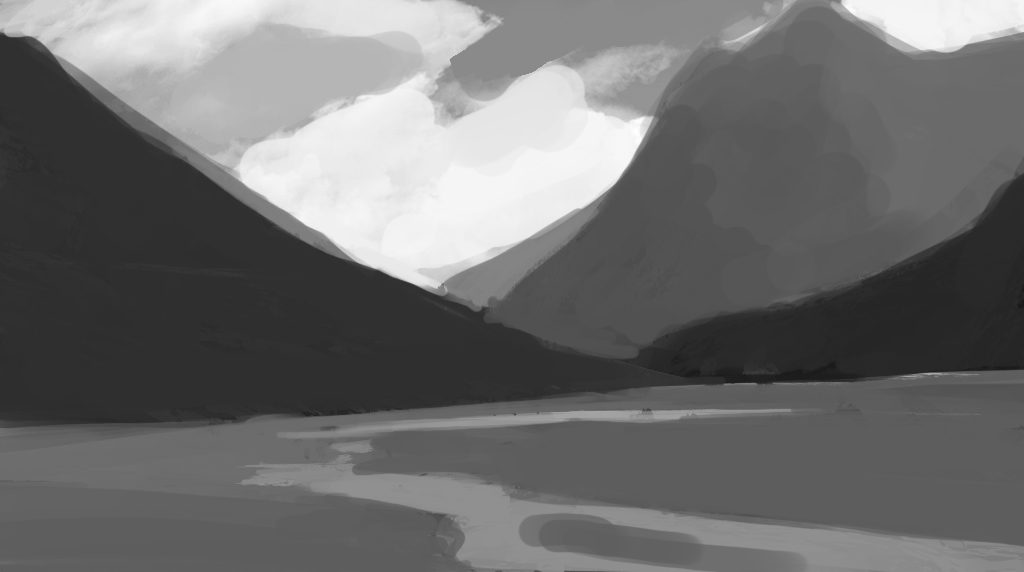
Before diving in the tool and using it right away, I would advice blocking out the general composition with four different values, all on a separate base layer. Those base layers are best used with clipping masks later on:
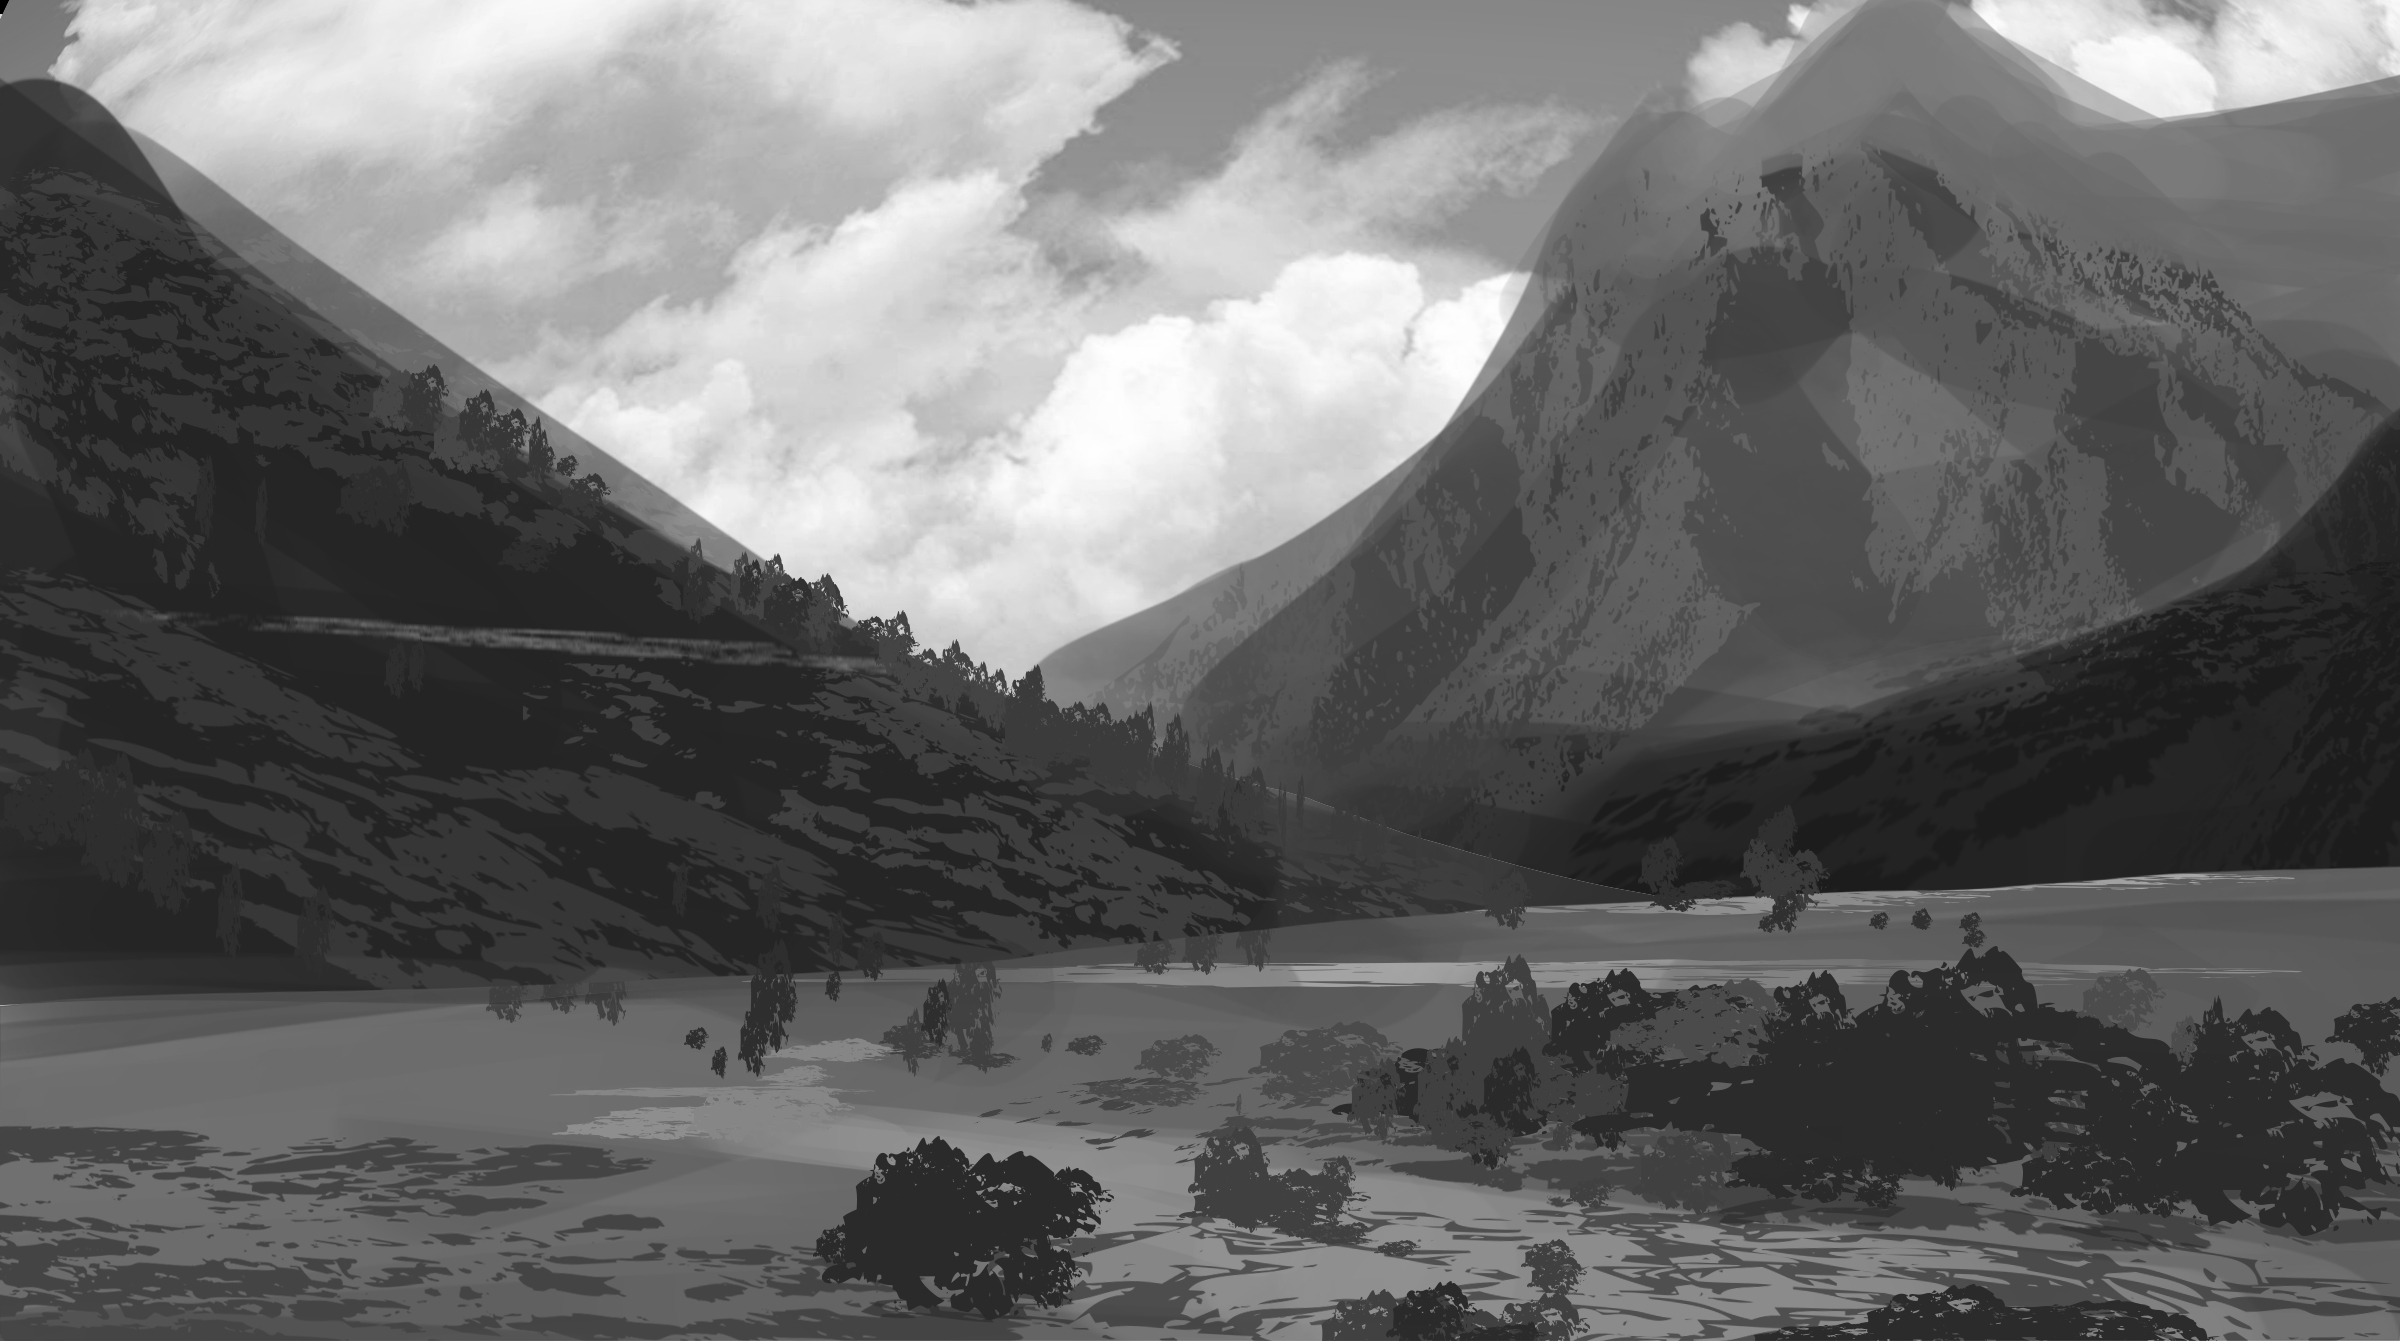
Once the composition is fleshed out, the custom shapes can be used to add more detail to each base layer. Using the custom shapes will allow you to move them around the canvas and position them anywhere you like, they can be scaled up and down, flipped and rotated to left and right. You’ll notice this works a lot faster then painting everything manually with the brush tool:
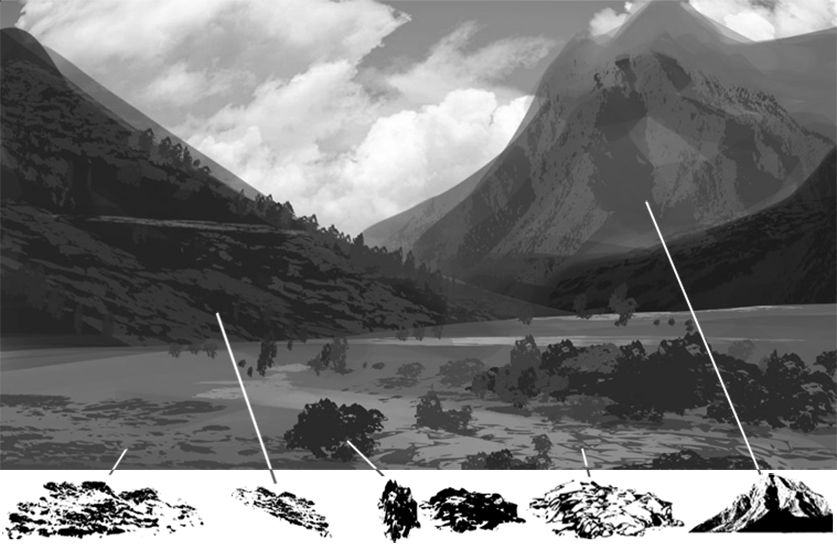
Custom shapes come with very hard edges, so depending on your style, those hard shapes are preferably counterbalanced with more painterly brushes. In the next steps, colours can be added and more time can be spend in brush economy:

Build a Custom Shape Library
It takes some time to build a custom library with shapes, so I would advice every time you come by interesting shapes, save them in your library. Don’t forget about saving in your references folders and building your visual library. Make your own custom shape with these six steps:
- Find an image with a nice light and dark contrast to it. We will be selecting the darked parts of the image, so the more contrast the better. If you don’t get good results, try changing the levels with ‘CTRL+L’
- Select the darker values of the part you want to save using Select – Color Range from the top menu bar or us the Magic Wand Tool from the tools panel
- Make a Work Path of the selection by selecting the ‘Marquee Tool’ (M) first from the tool panel and right-click. Holding ‘M’ while right-clicking is a shortcut to the Make Work Path option
- Define the custom shape under Edit from the top toolbar
- Give it an appropriate name
- Access the Custom Shape Tool from the tool panel listed under the Rectangle Tool (U)
Let me know if this technique works for you and helps speeding up your workflow. Should you have other helpful techniques, tips or tricks, please share them with the rest in the comment section!
All the best and good luck!